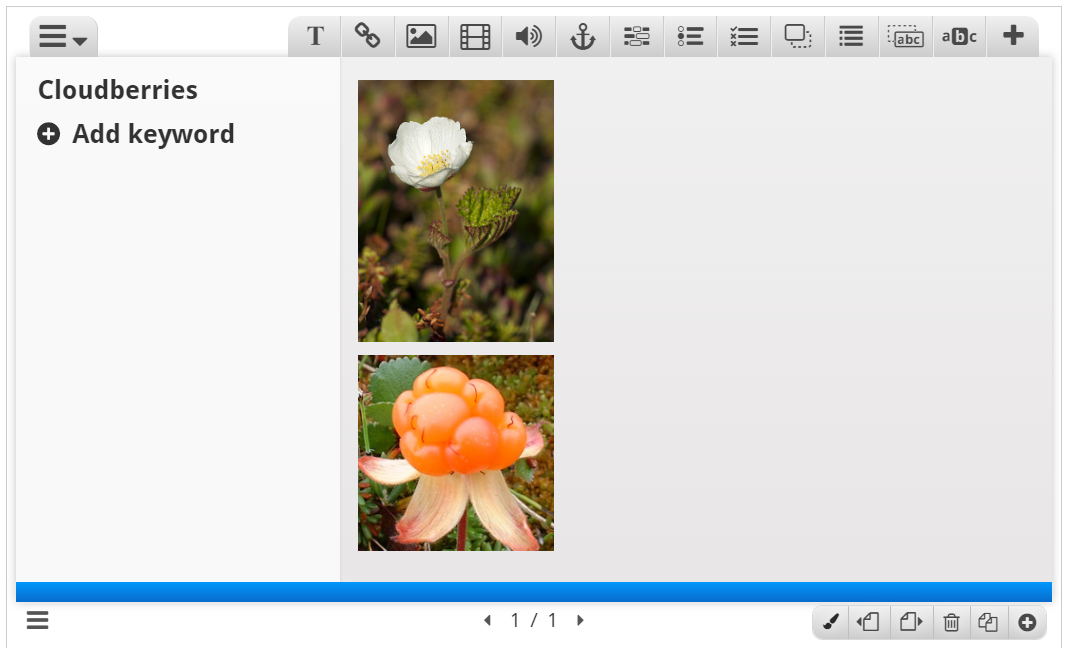
Course Presentation Tutorial
The Course presentation content type allows you to create a slide-based presentation of your learning material. Elements such as slide titles, links, pictures, audio and video clips, as well as various quiz types can be embedded seamlessly right into the presentation for a richer learning experience.
In this tutorial you will learn:
- When to use Course presentations
- How to create a Course presentation
When to use Course presentations
Course presentations enables you to author and deliver your course material directly in your browser. Course presentations contain slides where you can add various multimedia- and interactive elements to engage the learner.
Course presentations are used when you want to package a piece of learning content in a structured and interactive format. Learners swipe through slides to experience the learning material, while solving various quizzes or watching videos along the way.
Try Course presentations as an alternative to presenting your learning content as Powerpoint presentations, PDFs or text-based web pages. Course presentations are very flexible to use, as they are simple to create, publish and edit.
Step 1: Topic
We'll use the Wikipedia article about Cloudberries as background material for our Course presentation. We'll use a couple of pictures from Wikimedia Commons as well.
Let's create three slides, with a test at the end:
- Slide 1: Cloudberries
- Slide 2: Where to find them?
- Slide 3: Uses
- Summary
Step 2: Creating a Course presentation
Head over to where you usually create new content on your platform. In Drupal you go to Create content and select Interactive content. In WordPress you select H5P Content and Add new from the admin menu. Then select the Create option for H5P and choose Course presentation from the list of Content types.
Step 3: Course presentation editor
The Course presentation editor should now appear. The top part of the editor looks like this:
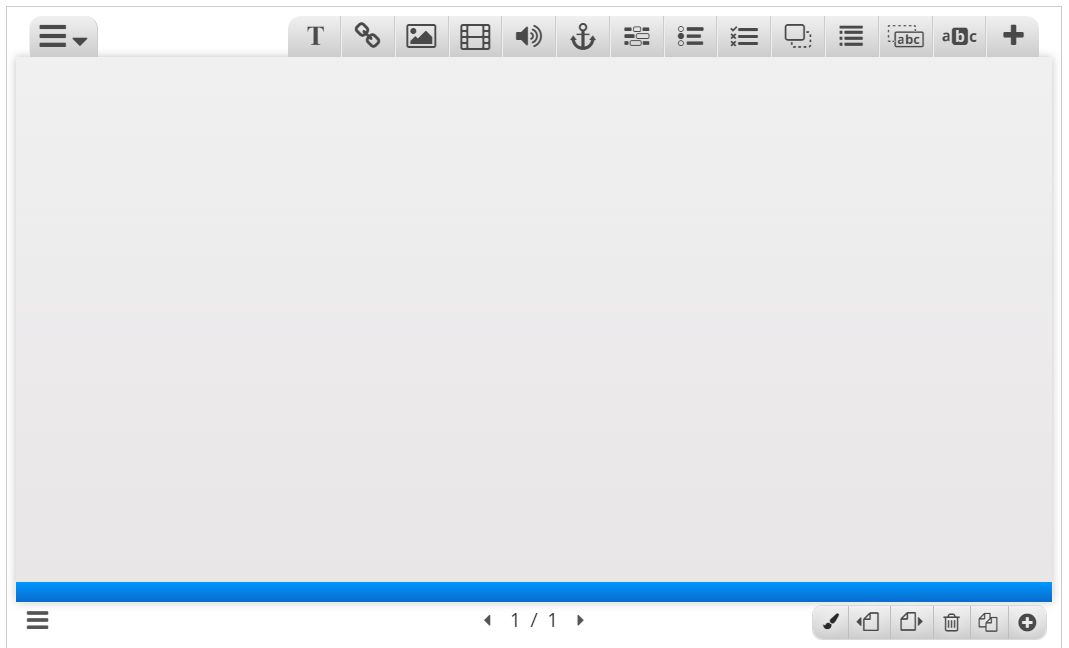
In this tutorial we'll focus on creating the Course presentation content. The content creation happens in the top part of the editor, so we'll only focus on this for now.
The Course presentation editor is wysiwyg. The end user view of the Course presentation will look very similar to editor view.
Step 4: Slide 1
We'll start by adding a slide in the slides panel to the left. The slide titles can be used to navigate between the slides.
NOTE:
You can remove the slides panel entirely by pressing the Remove slides button. However, this action cannot be undone.
Press the
Use Cloudberries as the title. You should now have something like this:
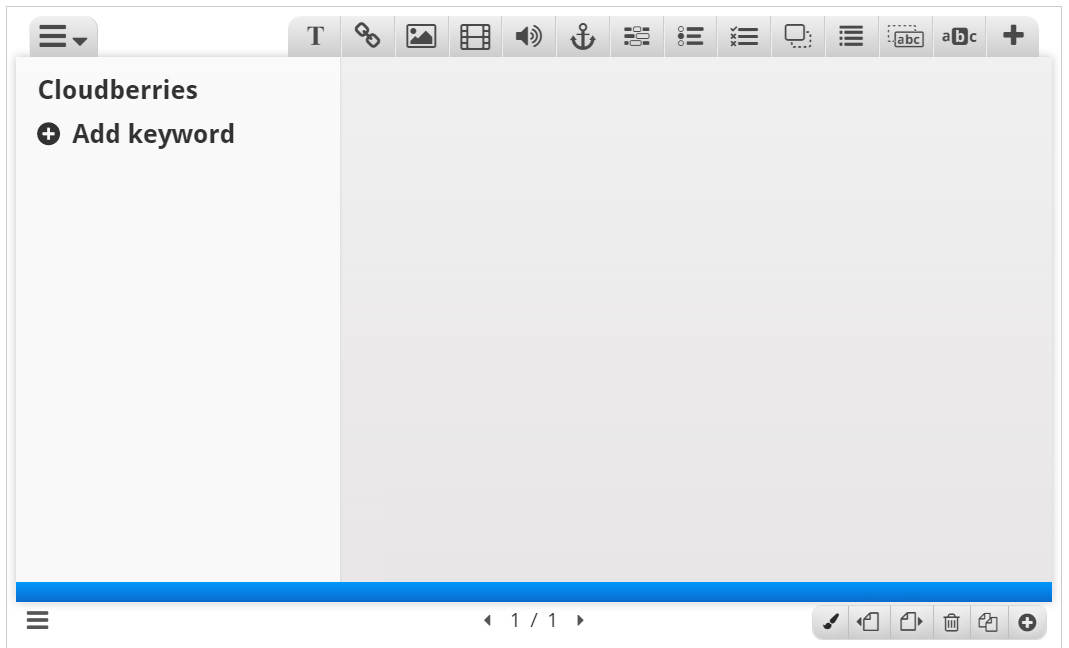
Now we can move on to adding some images.
We'll use these two images from Wikimedia:
Note the license information and URL and save the pictures to a local folder.
We add the pictures by using the
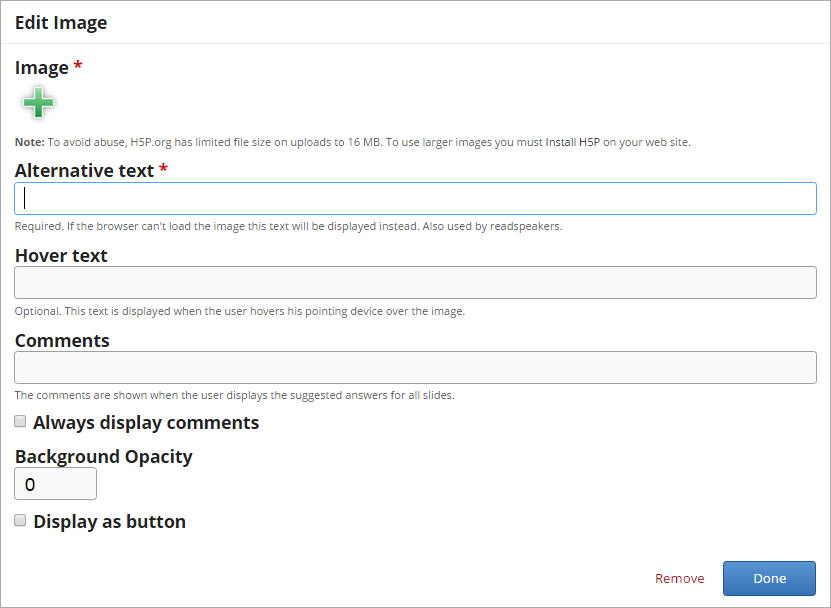
Press the
![]()
We must also remember to add multimedia license information. Add the following information to the Edit copyright dialog:
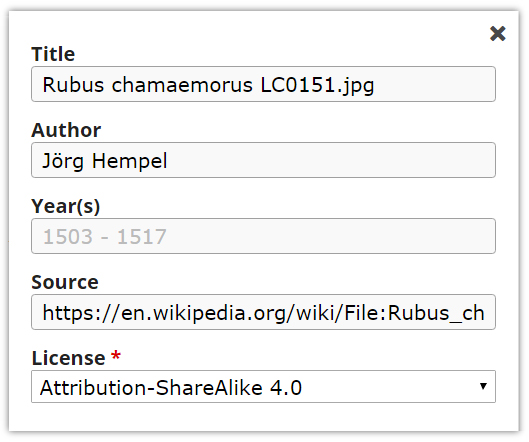
Finally, we have to add an Alternative text and a Hover text. The Alternative text is used to describe the image as an alternative to being displayed. The Hover text will show up on devices using a mouse when the cursor hovers over the image.
Alternative text: Picture of a Cloudberry flower
Hover text: Cloudberry flower
You should now have something like this:
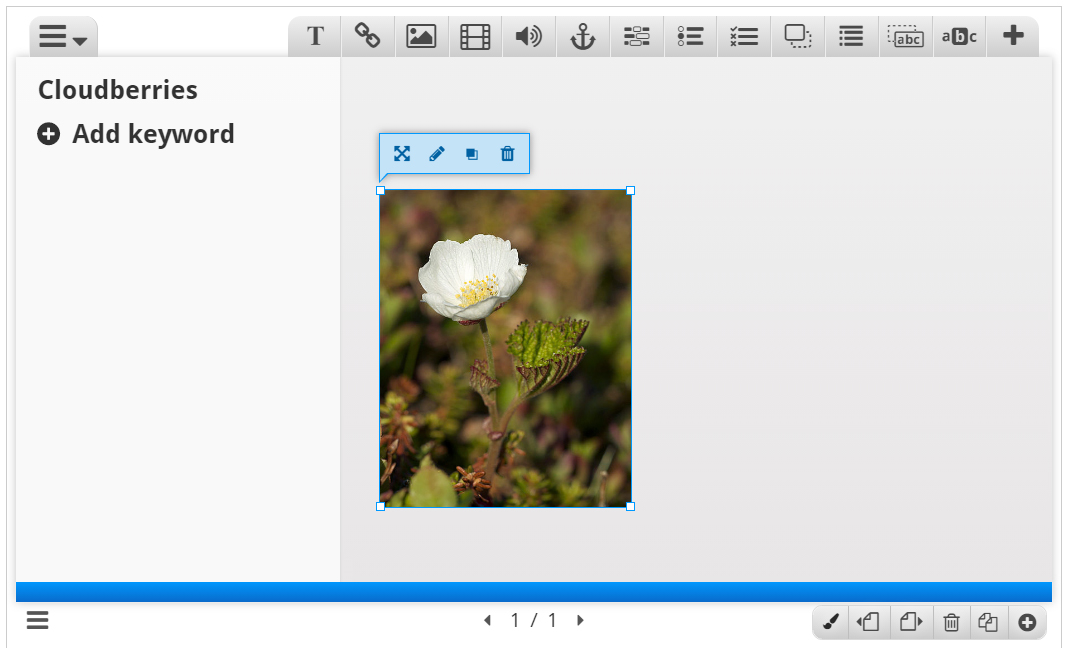
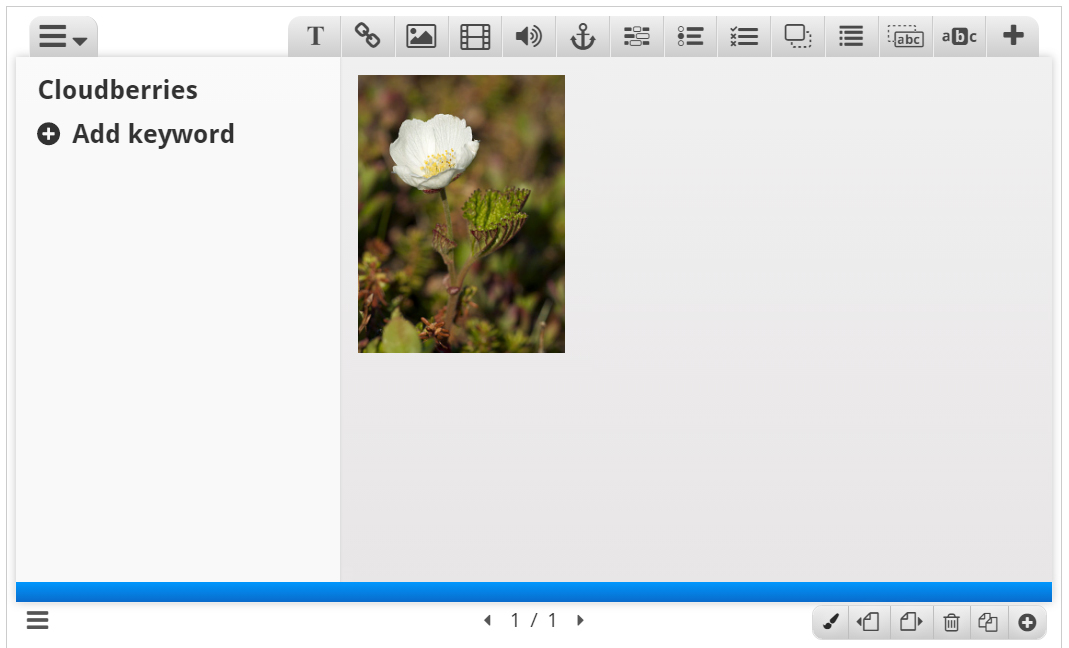
Resize the picture by pulling in the lower right corner of the image. Make the image slightly smaller in size. You can move the picture by using drag and drop. Place it in the top left corner, so you get something like this:
Now, add a second picture. This time, we'll use the cloudberry picture and place it beneath the cloudberry flower picture. Use the same procedure as above.
You should now have something like this:
To finish slide 1, we'll add the following text, which is paraphrased from the Wikipedia article:
- The Rubus chamaemorus is a herb producing amber-colored edible fruit similar to the raspberry or blackberry.
- The cloudberry grows to 10–25 cm high.
- The leaves alternate between having 5 and 7 soft, handlike lobes on straight, branchless stalks.
- After pollination, the white flowers form raspberry-sized berries.
- Each fruit is initially pale red, ripening into an amber color in early autumn.
Use the Text tool
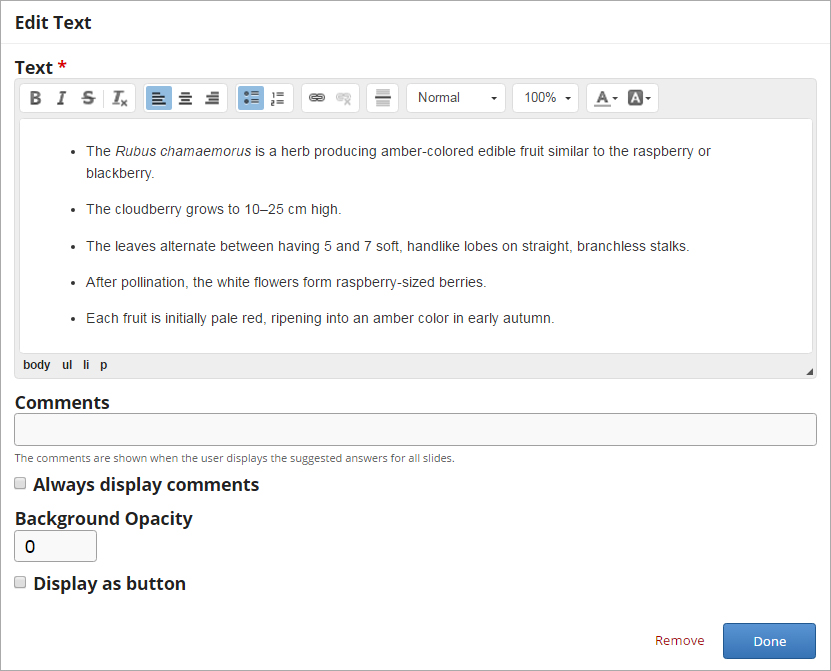
Leave the other fields blank and press Done.
You can place and resize the text block in the same way as images.
Now, position and size the text block so that you end up with something like this:
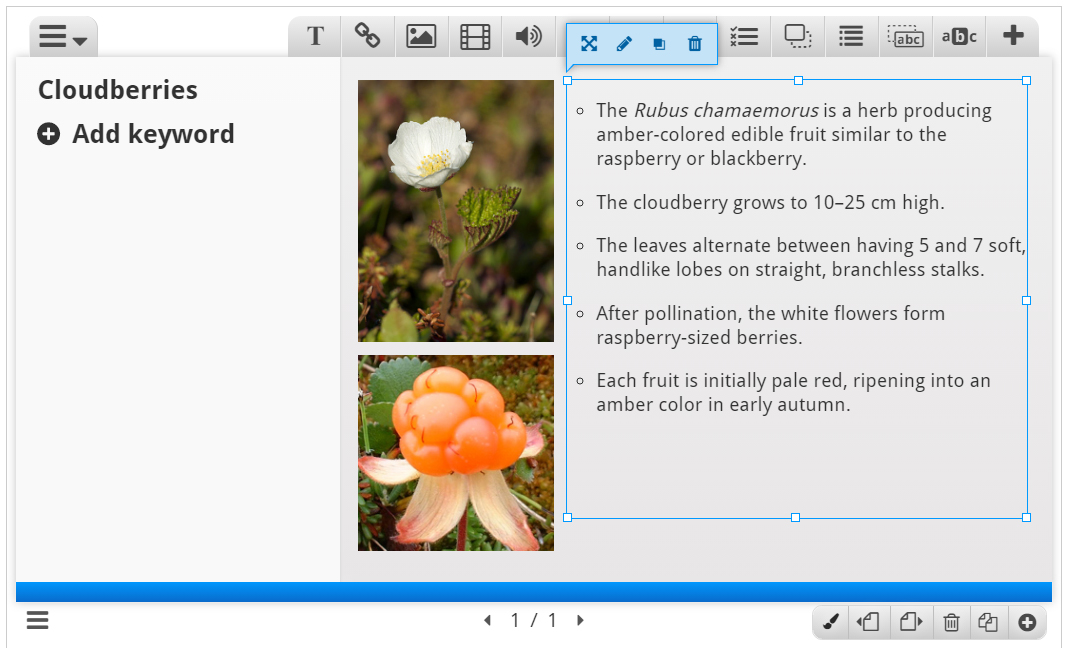
We have now finished slide 1.
Step 5: Slide 2
Press the
Slide 2 will contain information about where Cloudberries can be found. Add the slide title Where to find them? in the slides panel.
We'll use the map picture from Wikipedia to show where Cloudberries grow in the wild. We add the picture by using the
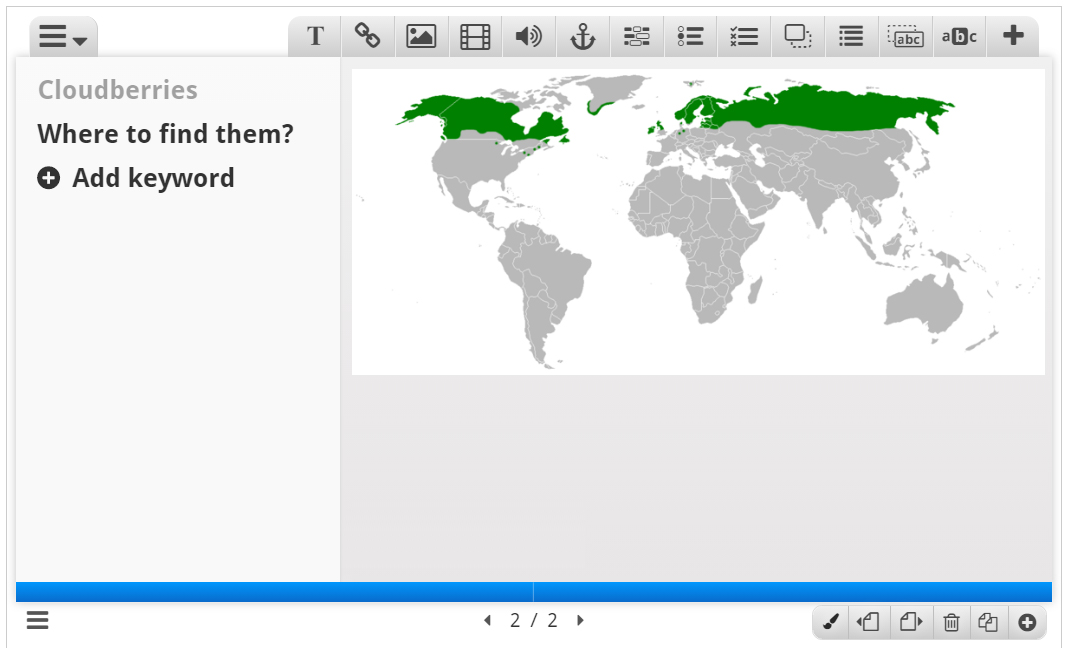
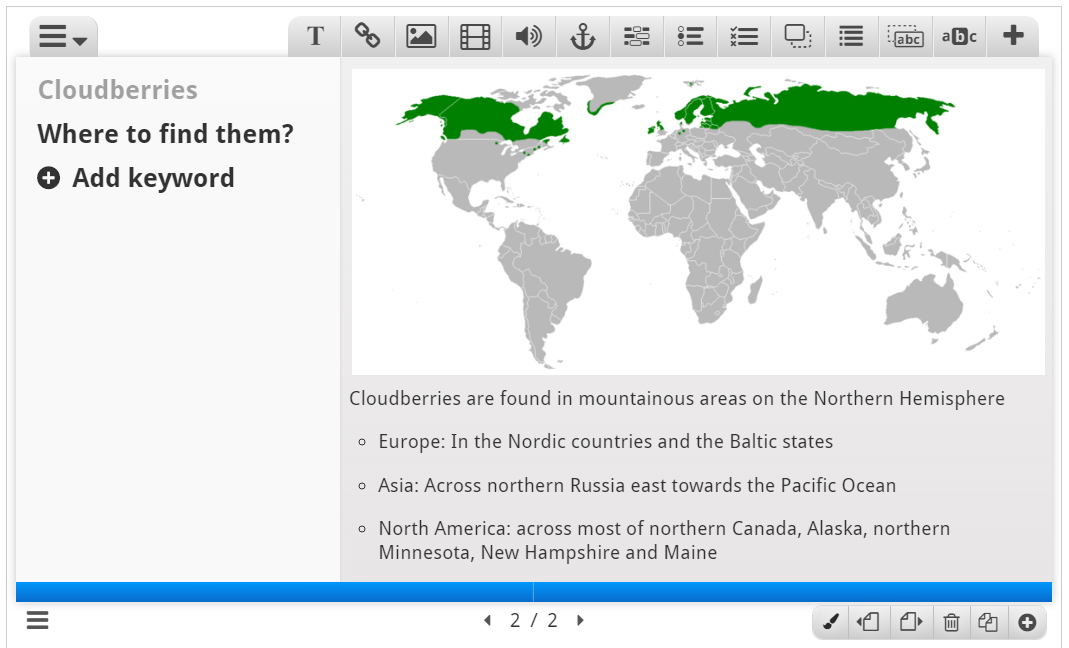
To finish slide 2, we'll add the following text, which is also paraphrased from the Wikipedia article:
Cloudberries are found in mountainous areas on the Northern Hemisphere
- Europe: In the Nordic countries and the Baltic states
- Asia: Across northern Russia east towards the Pacific Ocean
- North America: across most of northern Canada, Alaska, northern Minnesota, New Hampshire and Maine
As on slide 1, use the Text tool
NOTE:
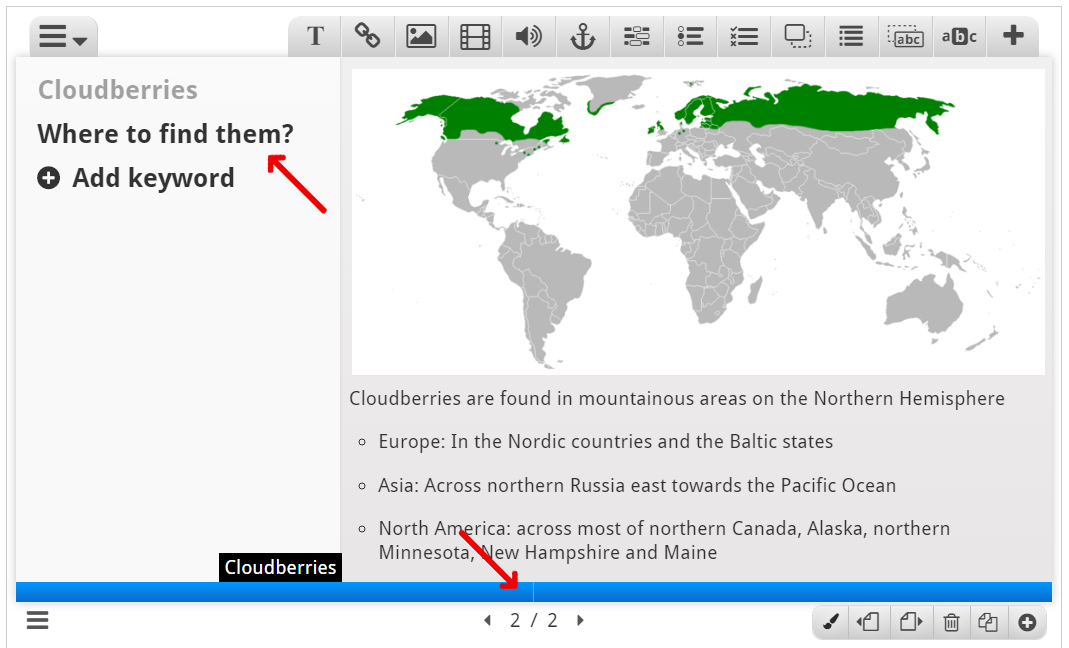
You can navigate between slides by pressing the slide titles in the slides panel or by using the navigation bar.
Step 6: Slide 3
Press the
Again, we'll use text and images to deliver our message. In addition we'll add a link to a website where the learner can find recipes using cloudberries.
Here are the links to the Wikimedia Commons pictures we'll use:
We add the pictures by using the
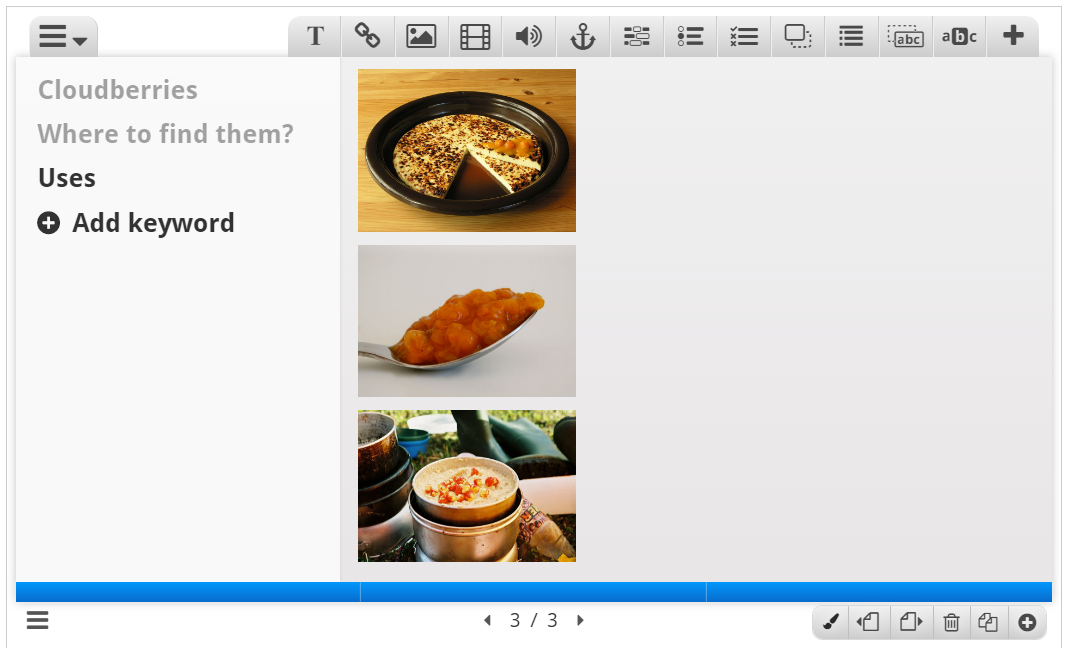
The text we'll use, is again paraphrased from the Wikipedia article:
- In Finland, the berries are eaten with heated, local cheese
- In Sweden, cloudberry jam is used as a topping for ice cream, pancakes, and waffles
- In Norway, they are often mixed with whipped cream and sugar
- In Atlantic Canada, cloudberries are used to make "Bakeapple Pie".
- In Alaska and Northern Canada, the berries are mixed with seal oil, reindeer or caribou fat, and sugar to make "Eskimo Ice Cream" or "Akutaq".
Use the Text tool
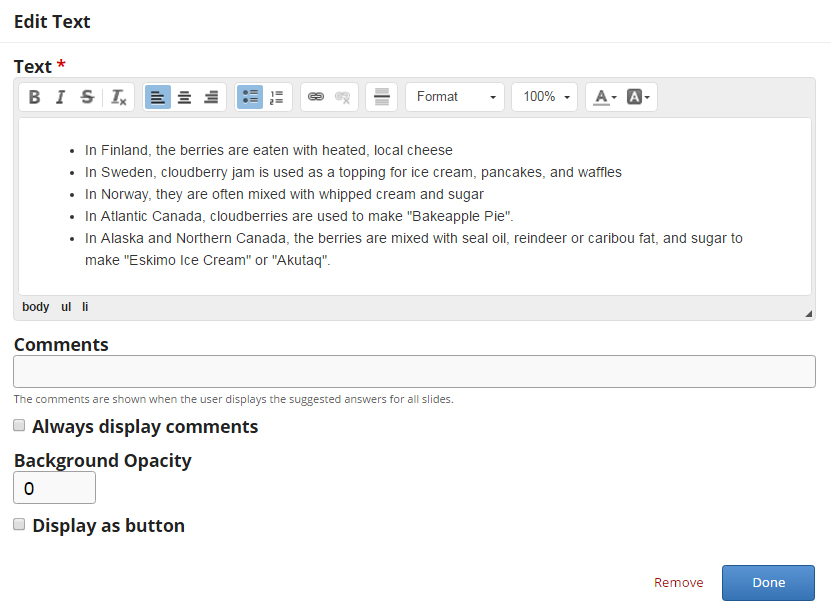
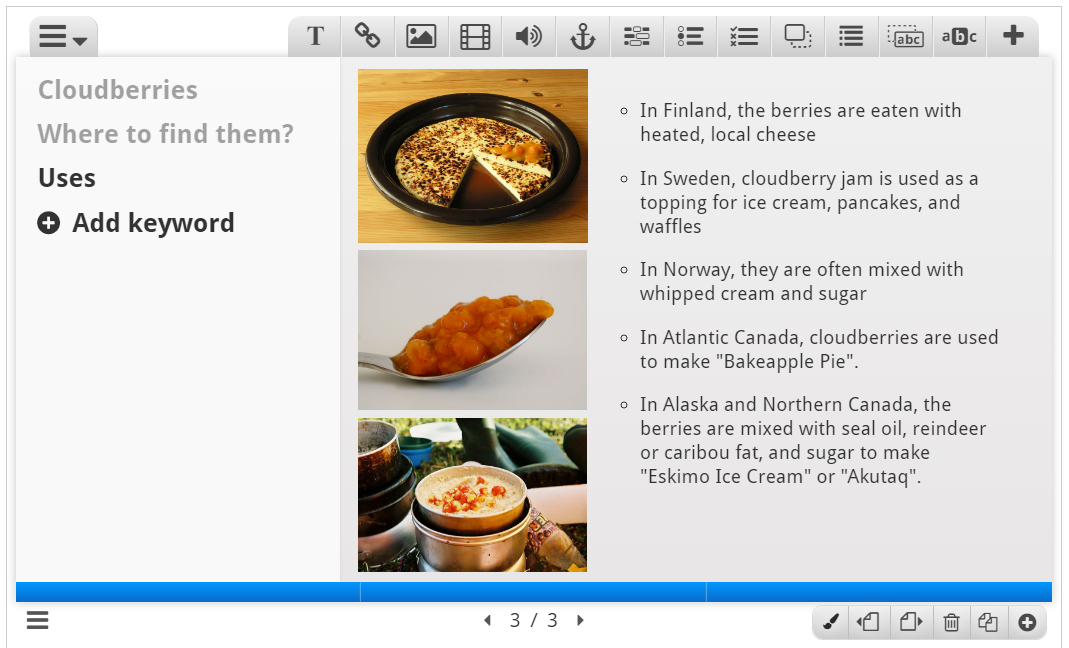
Press Done when you're finished. You should now have something like this:
Finally, we'll add a link. Use the
We can find a selection of Cloudberry desserts on yummly.com. Here's the URL: http://www.yummly.com/recipes/cloudberry-dessert
Use the link text Cloudberry dessert recipes.
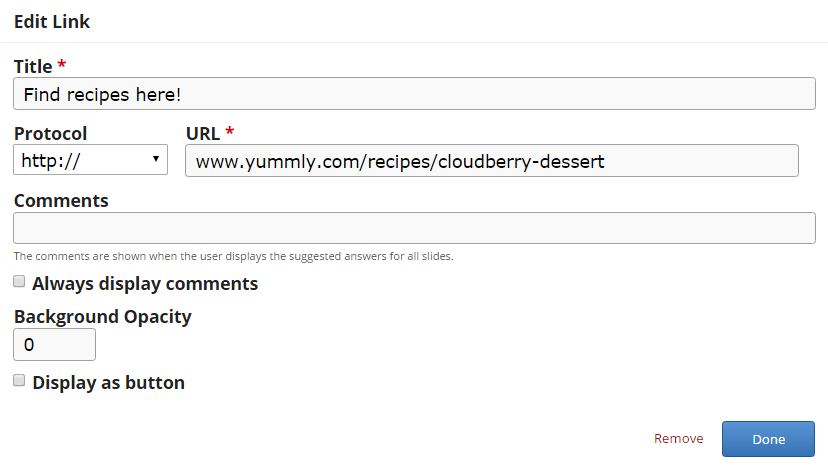
Press Done. then resize and place the link box so you have somehting like this:
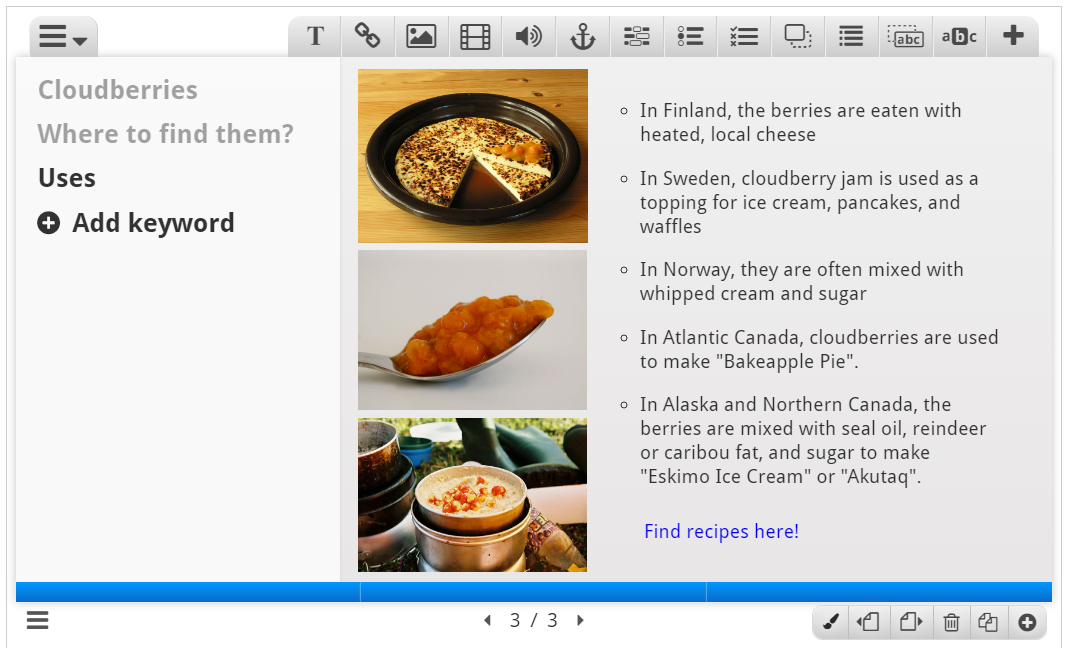
We're now finished with slide 3. Finally, we'll add a Summary to finish the Course presentation.
Step 7: Slide 4
Press the
The Summary will allow the learner make an interactive summary of the most important aspects of the previous three slides.
On the toolbar, press the
Once you have dropped the Summary, the editor will appear.
Now we'll add statements to the Summary. Press the Add statements button to add two more statement groups.
NOTE:
In the Summary editor, the top statement in a statement group is always the correct one.
Introduction text:
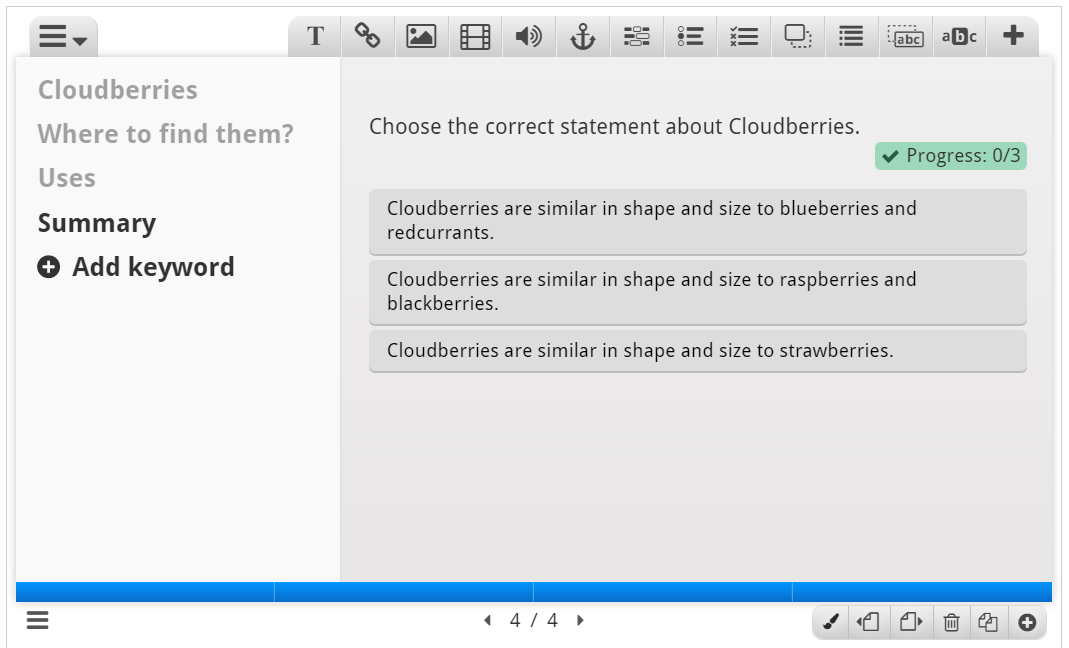
Choose the correct statement about Cloudberries.
Statement group 1:
- Cloudberries are similar in shape and size to raspberries and blackberries.
- Cloudberries are similar in shape and size to blueberries and redcurrants.
- Cloudberries are similar in shape and size to strawberries.
Statement group 2:
- Cloudberries are found in the Northern Hemisphere.
- Cloudberries are found in the Southern Hemisphere.
Statement group 3:
- In Atlantic Canada, cloudberries are often used to make "Bakeapple pie".
- In Atlantic Canada, cloudberries are mainly eaten with a heated local cheese.
- In Atlantic Canada, cloudberries are mainly eaten with a heated local cheese.
Press Done when you have added the statements. Then position and resize the Summary so you'll have something like this:
Step 8: Finishing up
At the bottom of the editor, you'll find the Enable show solution buttons option. In this context, the option does not have any effect.
Save the node/article to view your finished Course presentation.
You should now have the same result as the example on top of the page.
Feel free to leave any comments or suggestions on how to improve this tutorial.
